Model Tarrington House BM2600, also known as ALASKA BM2600, it is in the form of a bunch of clones from other manufacturers, differing in model and color of panels, but with the same appearance.
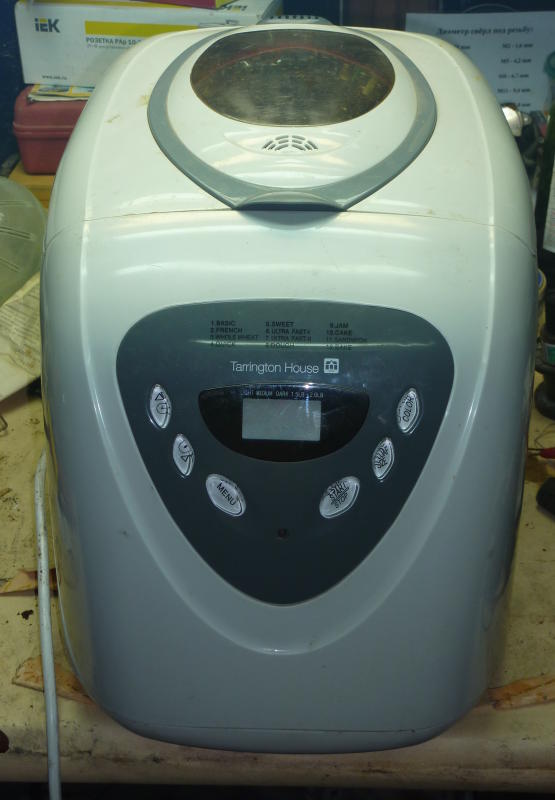
The bread maker worked for about 9 months in active mode. After that, extraneous noises began to appear when kneading the dough. First, creaking and snapping, and then an outright knock and scratching. Metal shavings appeared in the baking chamber and under the bread maker, and the crown of the mixer drive was noticeably dangling. On the bucket drive, grooves appeared from the petals of the crown, which, when skewed, simply wiped the place of contact.
The reason for this is the destruction of the copper-graphite bushing of the mixer drive. It was impossible to use the bread maker further - not only was there a terrible roar during work, the mechanism, both the bread machine and the buckets, was rapidly destroyed. The bread maker itself worked as it should, so the question of replacing it was not even raised. The problem is purely mechanical and it is not difficult to fix it.
The first attempt was to rotate the sleeve 180 degrees, the unworked side. However, this decision did not justify itself. I managed to bake 8 loaves, after which the knocking resumed. And the sleeve yield was even stronger. Therefore, when a problem appears, I do not recommend even trying to do this, only a complete replacement.
In order to get to the sleeve, you will need to completely disassemble the bread maker. There is nothing complicated in this, but the process itself is not obvious in places and without knowing the features, you can break something. This manual contains a step-by-step process for disassembling and replacing the bushing.
First you need to remove the top cover. To do this, pry the fixing plate with a screwdriver:
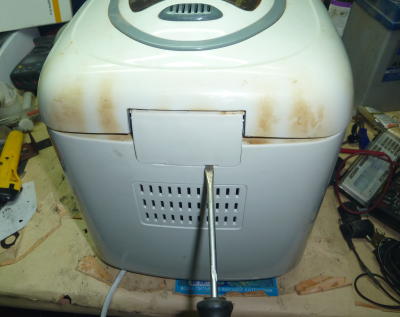
And we remove it:
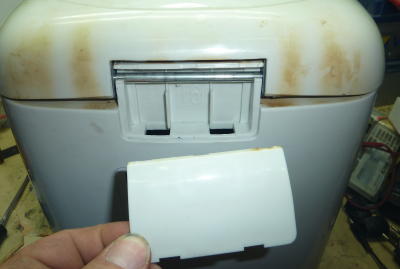
Remove the cover:
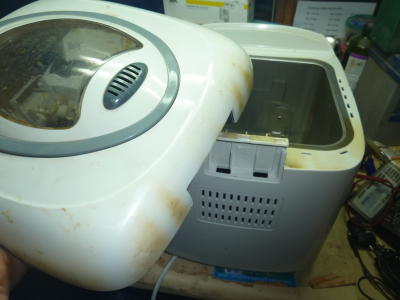
Next, in the baking area, carefully unscrew the 8 screws of the case, while avoiding the load on the heating element, which can burst. You can get to some of the screws with a Phillips screwdriver between the heating element and the wall. However, if the screwdriver does not get through and an effort is required to bend the heating element, this is not necessary. Better to get close to the side at an angle. In some cases, instead of a Phillips screwdriver, it may be more convenient to use a flat one:
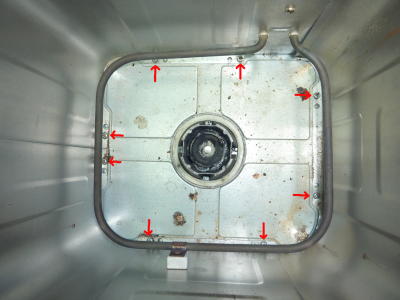
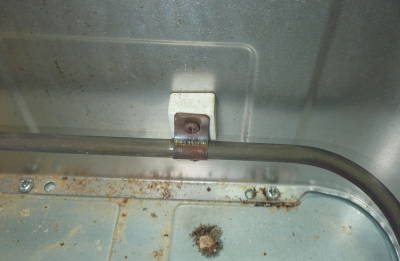
We unscrew the support of the heating element:
Turn over the bread maker and unscrew the 5 screws securing the bottom cover:
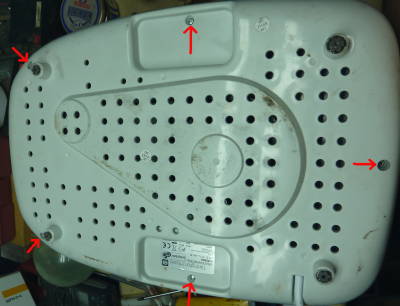
Two central three-sided screws:
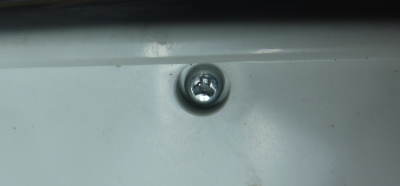
If a suitable screwdriver is not available, they can be removed with a flat screwdriver of the appropriate width:
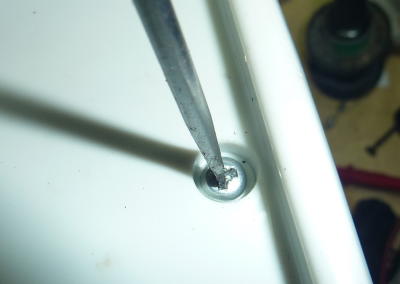
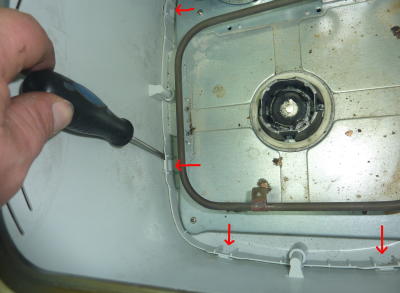
After loosening the screws, the bottom cover will not come off. It rests on latches, which are difficult to reach from the outside. We turn the stove back and pry the unscrewed casing of the baking zone in the upper part, carefully lift it up, trying not to touch the heating element. To make the housing easy to pull out, it is important to avoid distortions. Raising about 2/3 of the height, the body will get stuck. The reason is the screw for fastening the ceramic support of the heating element. You do not need to unscrew it, you just need to press on the body at the location of the screw so that it goes through the plastic seal:
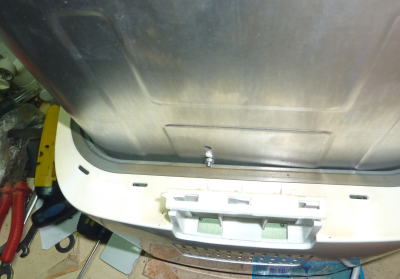
With the body of the baking area removed, we gain access to the latches from the inside. Raising this side of the bread machine by 2-3 cm, squeeze the latches with a flat screwdriver. Usually, to remove the cover, it is enough to squeeze 2-3 latches:
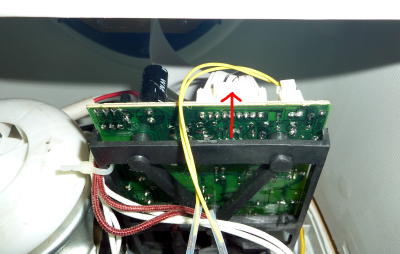
Before removing the case, you must disconnect the cable from the electronic unit and not damage it. To do this, gently move the body of the bread machine forward, avoiding pulling the loop. This will facilitate access to the connector. You need to disconnect the wide white connector, the two-wire one on the right is a thermal sensor, you don't need to touch it. The connector has a latch in the central part, you can pry it off with a flat screwdriver and gently push the connector off.After the latch has come out of the groove, the connector can be removed by gently shaking it, or slightly prying it with a screwdriver on the right and left:
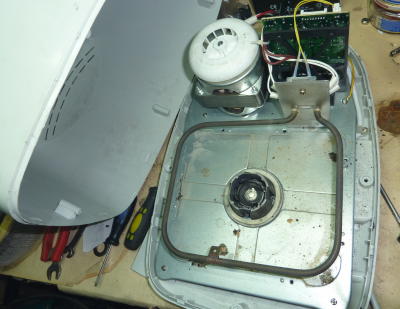
After disconnecting the connector, the housing can be removed:
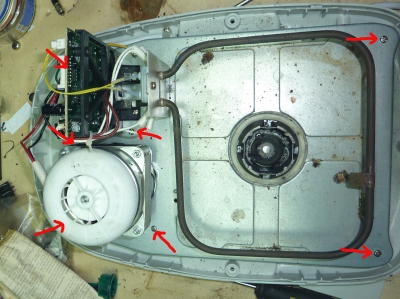
Unscrew the 7 screws shown by the arrows securing the base to the bottom cover. You do not need to unscrew the rest of the screws:
Raise the base and place it on its side. At the same time, it is important not to allow the load on the heating element, the board frame can be used as a support:
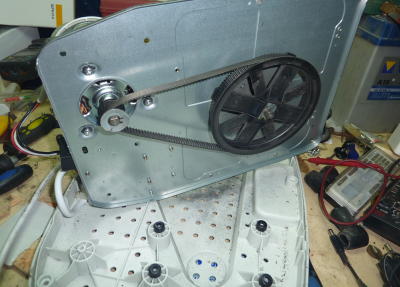
By the way, if someone is not satisfied with the length of the wire, from this position it can be conveniently and without problems changed to a longer one.
We push the belt from the pulley to the inside:
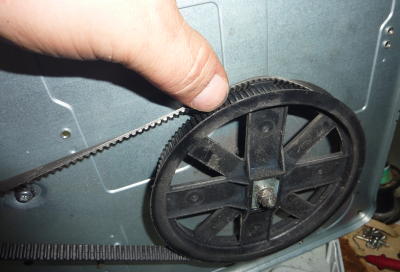
We turn the pulley and remove the belt:
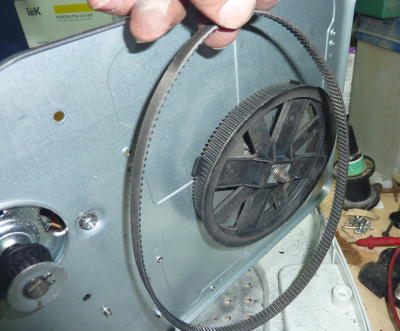
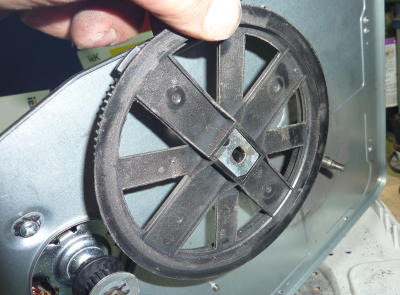
To remove the pulley, unscrew the nut by 8, remove the grover and washer. If at the same time it is not possible to remove the pulley from the shaft, pry it off with a flat screwdriver. An important point: you need to pry the base near the axis. Do not lean on the edge of the pulley, it may break. To do this, insert a flat screwdriver and turn, pushing the pulley off the shaft:
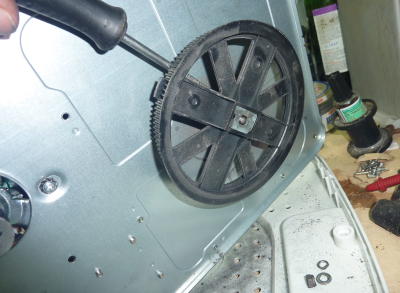
Remove the pulley. It is important not to lose the rectangular washer, which may pop out:
The axle is secured with a lock washer. Gently pry it off with a screwdriver, holding it with the other hand, as the washer can pop out and get lost:
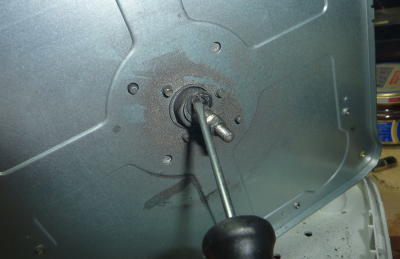
There is a plastic washer under the stopper, remove it. The axis can now be removed:
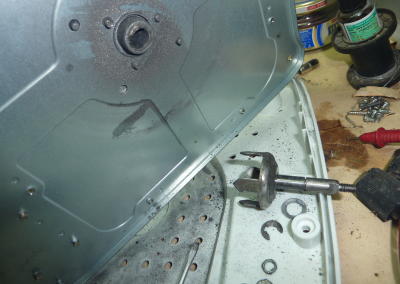
From the side of the baking area, unscrew the three screws securing the bucket and remove the mount:
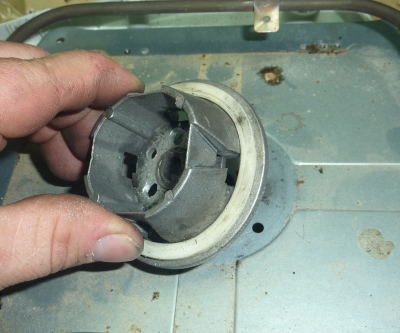
Sleeve parameters: outer diameter 12mm, inner diameter 8mm, length 14mm. Seat length - 12mm:
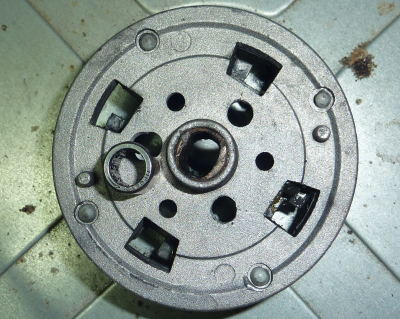
I refused to replace it with a similar sleeve. After a while, it will fall apart in the same way. Therefore, a needle bearing with the same parameters was selected. An important point: since the base is duralumin, the bearing must have an outer ring. A roller cage just won't work. It was not possible to find bearings with a length of 14mm, there are only 12mm. But the seat is 12mm, so such a bearing will do. I ordered it on Ebay. The bearing was chosen one-way, with rotation in one direction. It stops in the opposite direction. In general, I do not recommend bearings of this type, there may be problems with removing the bucket, although in my case this is not the case: the bucket rim has enough free play to turn it. But if there are no other bearings, this will do too.
To press out the sleeve, take a sample or a suitable pin with a diameter of 10-11 mm. The breakdown is supported by a blunt end. The sleeve is pressed out with light blows of a hammer. No need to knock, the base may burst.
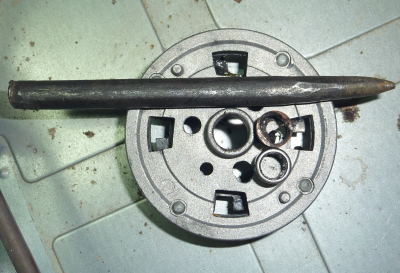
The bearing is pressed in the same way. If it is one-sided, observe the direction of rotation of the mixer. The seat can be greased to facilitate pressing. When pressing it in, it is important not to skew the bearing.
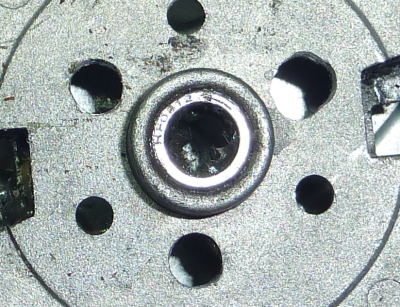
Before installing the axle, the bearing is lubricated. I chose the SHRUS-4 grease, since the unit is loaded. You should not be afraid that non-food grease is not worth it. The bearing is located under the baking area, there is no strong heating there and it will not come into contact with bread in any way. And the factory lubrication of the bushing is similar there.
The assembly is carried out in the reverse order: the axle is installed, secured with a lock washer. To do this, the washer is simply applied to the slot and pressed lightly. a pulley is placed and tightened with a nut. The belt is put on like this: first it is threaded over the pulley, then it is put on the motor pulley, on one side it is thrown onto the large pulley and gently rotated. Then the base screws are tightened. When installing the case, do not forget about the connector of the electronic unit. After connecting the connector, the housing is put in place and snapped into place. The screws of the lower part are tightened. Then the baking area cover is gently lowered. There are two points with him: at the beginning of the turn, you will need to press at the place where the heating element is attached. Then lower it very carefully so as not to damage the heating element. Then the holes are aligned and 8 fastening screws are tightened.The fastening of the heating element support is twisted. The lid is put on.
After installing the bearing, the bread maker has been successfully working for several months, so far there are no problems.


