FullyI am haunted by the topic of attempts and failures, I would like to dwell on it in more detail and try to consider the most common difficulties that novice bakers face. The topic is very extensive, but if we briefly talk about each problem, I think it will be interesting and useful for everyone who started and encountered. Today our topic is the appearance of bread, especially the crust and everything that can happen to it.
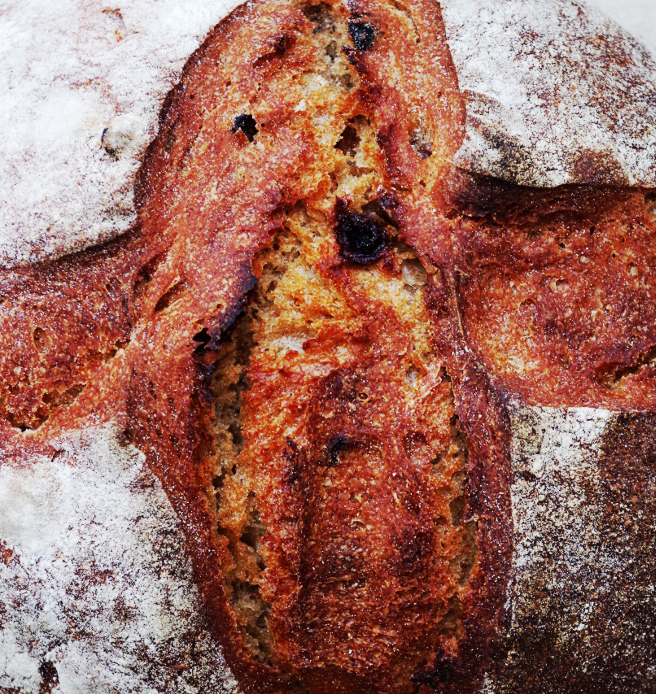
Let me remind you that the bread turns out to be ugly, low, torn, flat, rough, burnt, etc. for several reasons: due to low-quality raw materials (that is, flour and, for example, butter), unhealthy or unripe sourdough, and due to a violation of technology, when, on purpose or involuntarily, we deviate from the recipe. I know from myself that sometimes it is not easy to complete the recipe inside and out, without making any deviations and without making amendments, it is oh, how difficult it is, hands are itching to pour a spoon or two of flour or add water or add butter or milk. I still often sin with this: I didn’t use honey in Lithuanian custard and reduced sugar, in another one, on the contrary, I added a spoonful of honey. On the one hand, this is creativity and realization, but, on the other, excessive liberties can lead to an unpredictable result. Paradoxically, blindly following the recipe can also turn into tasteless bread.
For example,
the most common problem with bread is crust breaks.
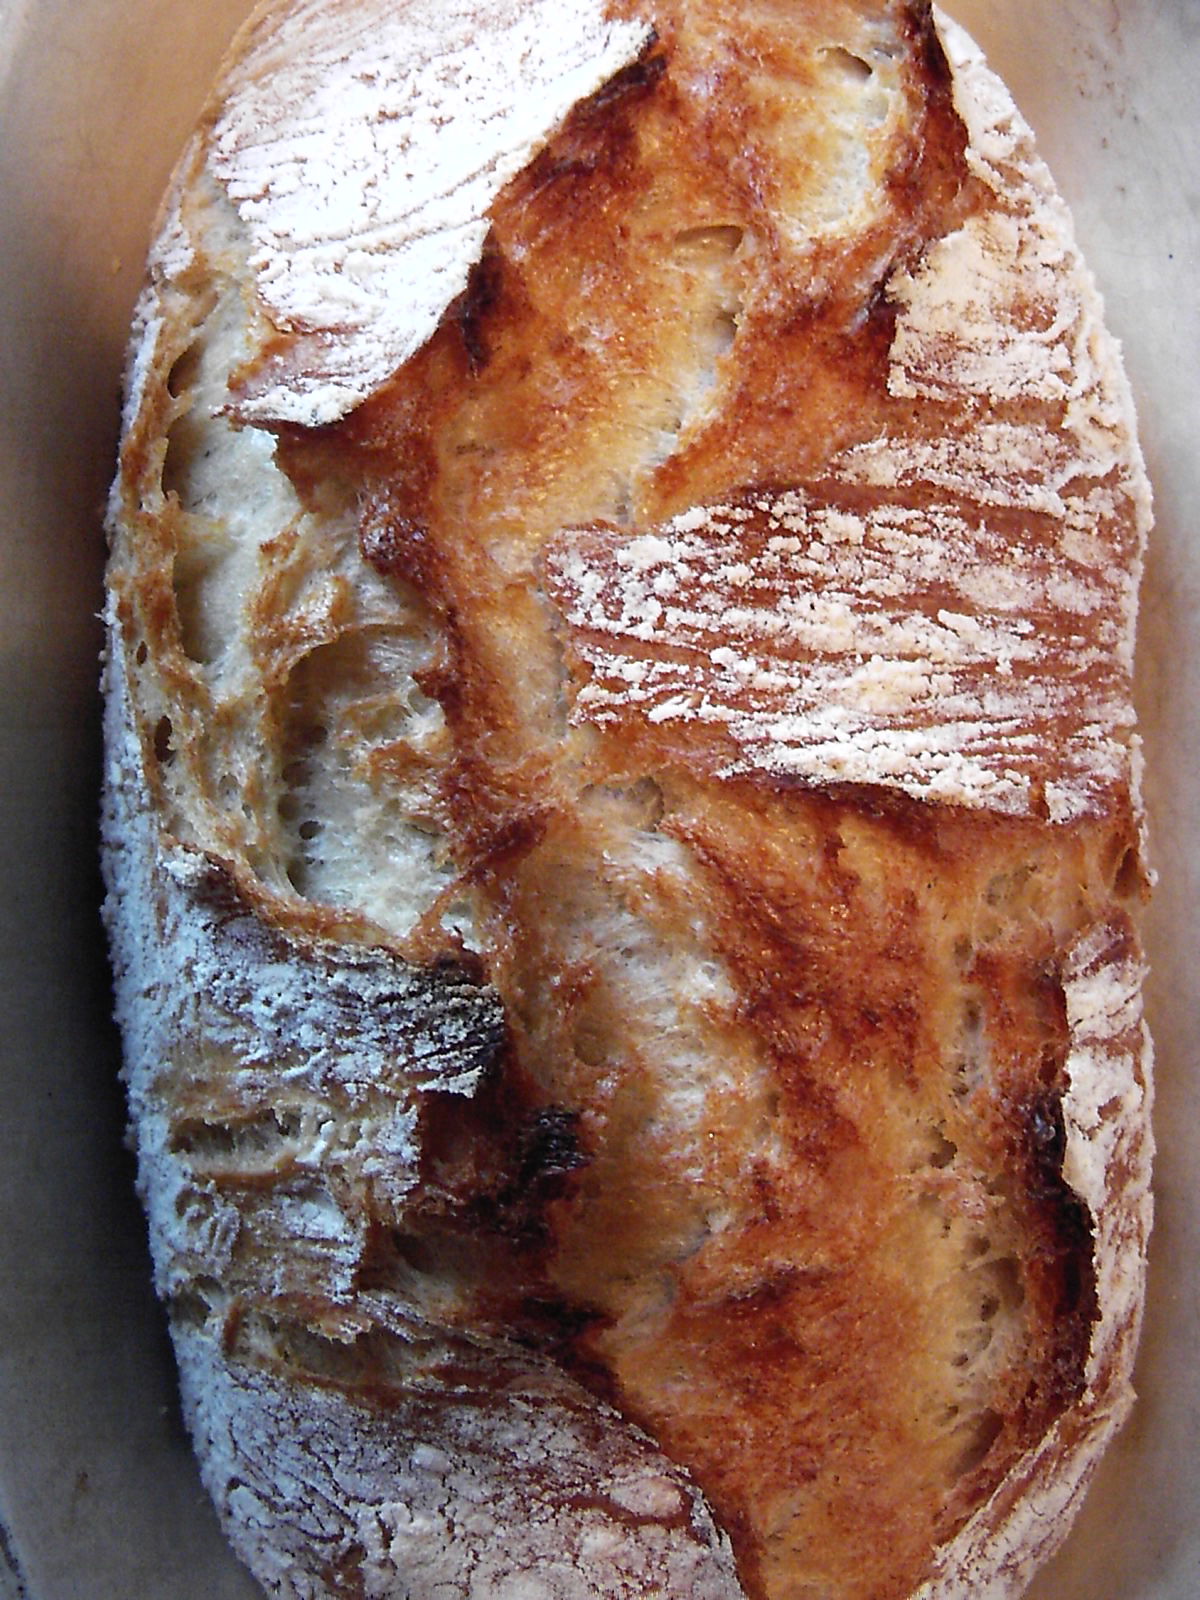
They are different and for different reasons, but the most “popular” is under-proofing. Despite the fact that almost every (any) recipe usually gives general recommendations regarding the time and temperature of fermentation / proofing / baking, we still have different conditions: everyone at home has different temperatures and humidity, different flours and, in the end, leaven, and it all affects how we work with the dough and how the bread is made. Recommendations are good and important, but if, for example, the proofing hour is indicated in the recipe, and your workpiece has not yet started to move, do not rush. Check if there are strong drafts, taste the dough (lick), if it is sour, if there is overheating or, on the contrary, excessive coolness, if the workpiece was well covered during fermentation. All of this can affect both the proofing process and the appearance of the dough and, accordingly, your assessment of the degree of proofing. I have already described ten times how this is done, but again, it will not be superfluous: in order to understand whether it is time to send the bread to the oven, gently press on the workpiece with your finger and see how quickly the groove is aligned. If the dough is elastic and quickly leveled out, the proofing is not over yet, if it is fluffy, moderately elastic, while pressing, internal air bubbles are felt, and the groove is not leveled out so quickly, then it's time to make cuts and send the bread to the oven.
During proofing, it is important to carefully cover the shaped piece with a bag or bath cap so that a crust does not form on the dough. Because of it, it is difficult to understand whether the dough has moved away, or has already stood, this can be judged only after baking
Another problem with the crust is when it is flat or opal, most often the reason is the stagnant dough, when the yeast has already done all its work, and the gluten has become sluggish and weakened.
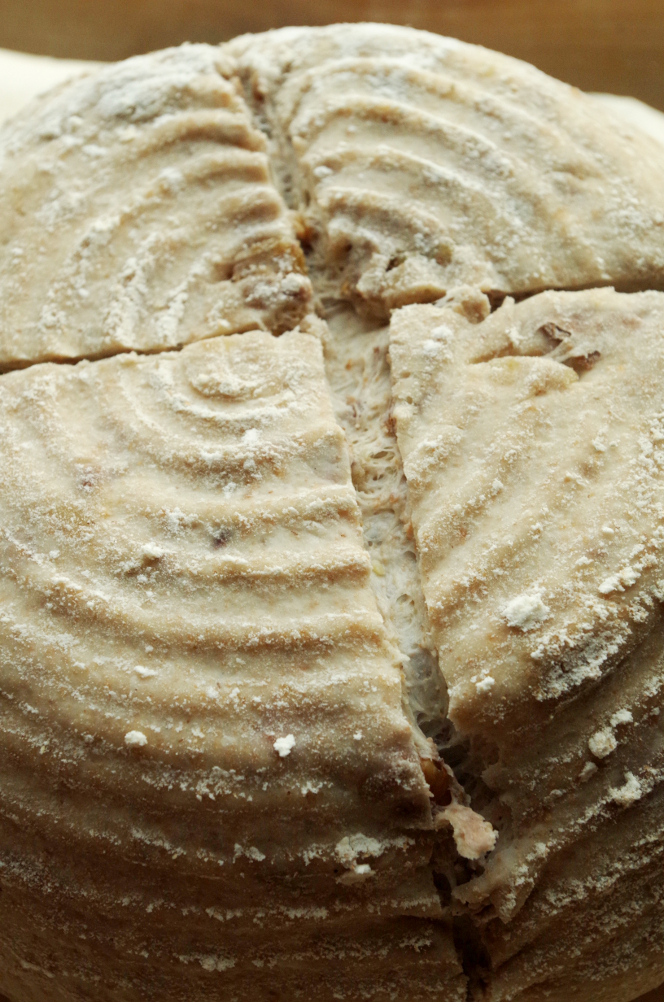
Overstocking dough is easy to recognize: when you press on it with your finger, the dough practically does not resist and the dent does not even out.When laid out on a shovel, it may even settle a little and deflate, therefore, it is better not to make cuts on a stagnant workpiece, even if they are provided according to the recipe, this can lead to the top of the bread falling off. During baking, such bread does not increase in volume and does not become more fluffy, it remains the same as before baking, or settles slightly (or strongly). I have had this with bread more than once, I still baked. The bread, of course, turned out to be not so tasty, and often sour, so it was sent for crackers or feed for pigeons.
In the case of standing dough, it is also important that no windy crust forms on it during proving. If the top of the bread dries up during the proofing, it will not settle, but at the same time the crumb may settle under this crust, and then you will get such a copy, which I recently showed in this material. The settled crumb becomes dense, a strong temper is formed, the upper crust burns, the result is that the bread is completely inedible.
So that the next time the dough does not stand, reduce the proofing, pay attention to the room temperature, if it is above 30 degrees, then you should try to find a cooler place for fermentation and proofing of the dough. This place may well be a refrigerator, but then the proofing time will increase to 6-8 hours.
Gray coarse crust and crust breaks... Another reason why ugly crust explosions can occur on bread, and the crust itself can be pale, “gray” and rough is the lack of steam humidification.
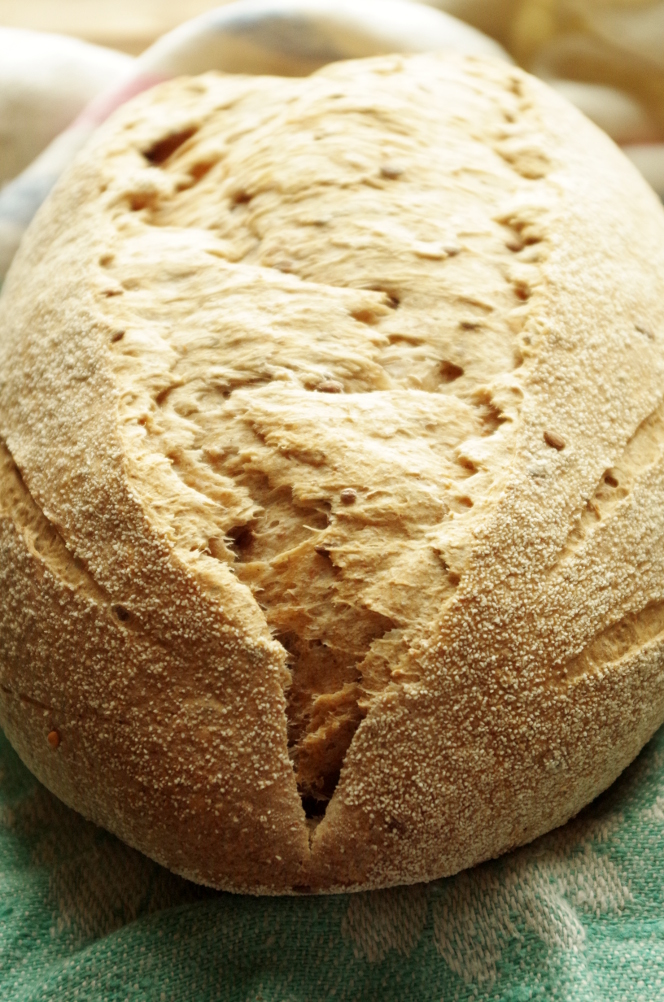
Wheat bread baked without moisture in the first stage of baking has an ugly rough shape, often uneven, pale rind and torn cuts. The inside of the bread can be completely normal, with good crumb, but at the same time be, frankly, not handsome. It doesn't matter whether you wait for the full proofing, whether you have experienced this delicate moment - the feeling of bubbles under your finger, bread without steam will still come out of the oven with a torn whitish thick crust.
Way out - oven with steam: put a bowl of boiling water on the bottom of the oven or place a wet towel on a baking sheet, or put a layer of pebbles or pumice stone in a metal baking dish and sprinkle with water, or throw ice cubes on a hot baking sheet, or sprinkle water from a spray on the walls hot oven, or oven under the hood. There can be a lot of options, the main thing is that it works. In problematic perfumes, in which the bottom of the bread always burns, and the top remains pale, I advise you to use a cap - cover the bread in the first 15 minutes of baking with a metal, ceramic or other heat-resistant bowl or dish, or bake in a cauldron, roaster or in such a special set. You can read more about how the steam and the hood "work" in this article.
The bottom is burnt and the top is pale.
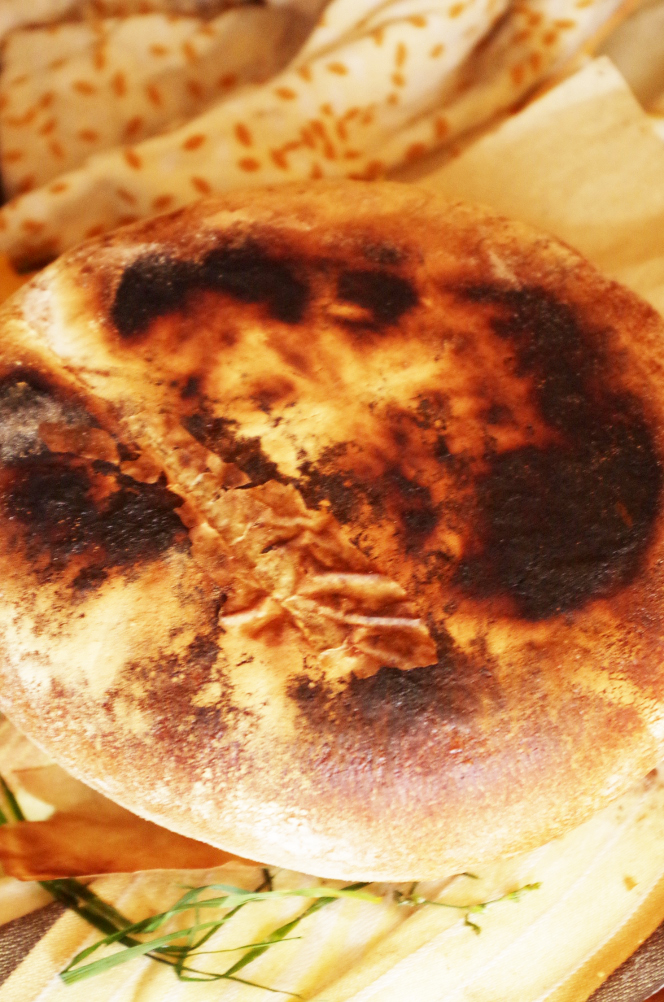
I just mentioned this problem, which mainly concerns gas ovens, and, moreover, regardless of the age of production and manufacturer. The top of the bread remains pale due to the oven not holding the heat and therefore the steam at the start of baking. With the door closed, the oven should be sufficiently airtight in those places through which hot air can escape, but most often it just "passes", so there is enough heat to fry the bottom of the bread, but not brown the top. Whether it is possible to do something with these places through which the temperature goes away, I do not know, but you can try to "tame" a capricious oven, leveling its shortcomings. The first thing that will help in such a situation is a baking stone. As it heats up, it accumulates heat, thereby leveling out uneven heating, and at the same time it gives enough heat, not allowing the bread to burn while it tries to brown. The second is the long heating of the oven. When it is all very hot, the bread in it is more likely to brown and bake faster and better. In addition, baking stone or cast iron needs at least 40 minutes to warm up well, I turn on my oven generally an hour before baking. The third is moisturizing at the beginning of baking, which I mentioned above.The presence of steam helps the starch and sugars of the crust to caramelize, which makes the bread redden even with low-quality heating.
The crust is fried and the bottom is pale.
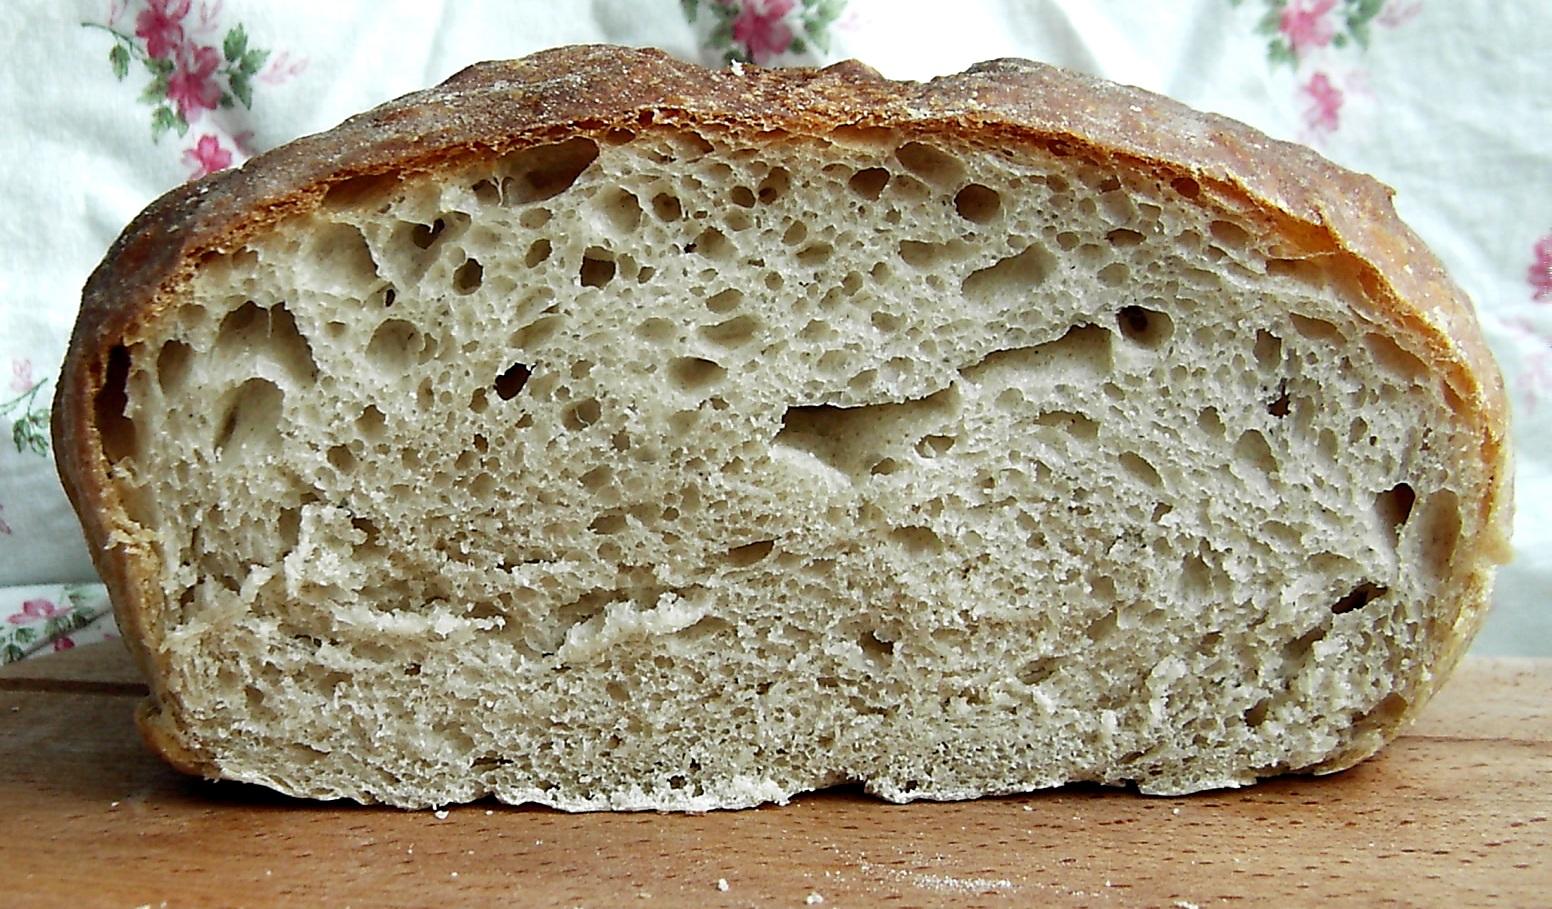
But this problem is often found in electric ovens. No sooner had the bottom been baked, than the crust was already brown so that by the end of the baking it would clearly burn. In general, such "symptoms" also speak of uneven heating, only here the top heats up more than the bottom Sometimes such a problem can be with normal ovens if the stone is not hot enough .. This can be dealt with by similar methods as in the previous problem: place a stone on the grate and warm it up well. If the top still fries faster, you can cover it with foil.
At one time I had to bake in a microwave oven in convection mode, there the heating was on the side (convection) and on top (grill), and my bread consistently had a pale bottom crust, the bottom crust was bursting in diameter (due to the cold baking sheet I served as a lattice wrapped in foil), and the top turned out to be almost black and thick. In such “wild” conditions for bread, lowering the baking temperature worked well for me. I did not preheat the microwave to the maximum (250 degrees), but started baking at 200-220 degrees.
The crust is smooth, sometimes glossy, cuts are poorly visible.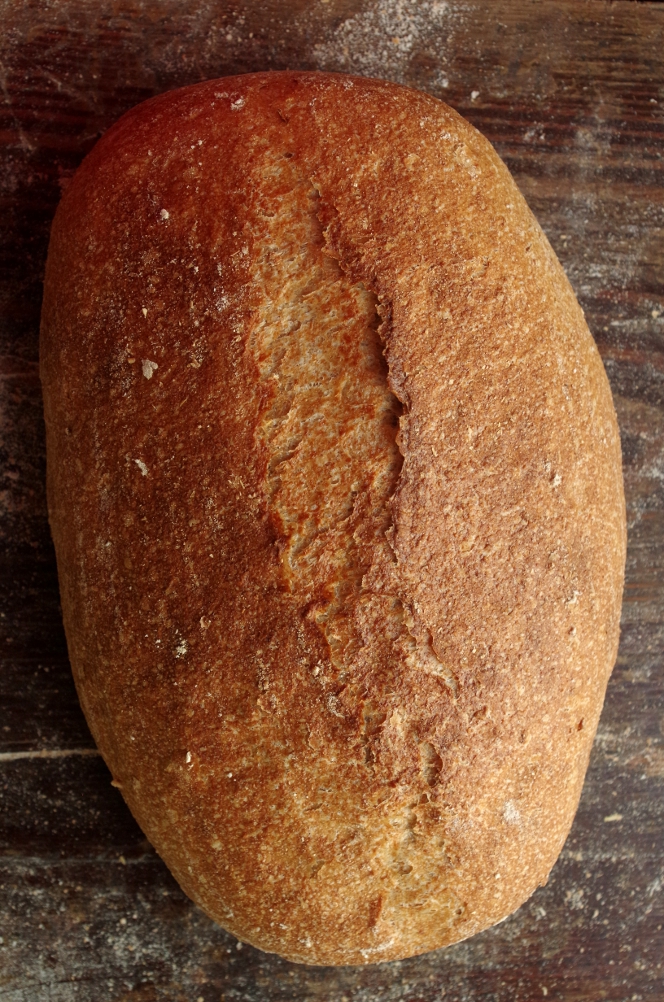
Such a picture is called the funny word "steam" - this is when there is too much steam. Most often this happens with those who bake bread under a hood and are late with taking out the hood by 3-5 minutes. With this method of baking, a couple of minutes is enough for the crust of bread to shine and "float", therefore, when baking under the hood, you need to be on the lookout. The next time you get beautiful spiky grooves along the cuts, remove the cap a couple of minutes earlier. And one more secret of beautiful cuts: before making a cut, let the dough stand for a few minutes, literally 5-10, and dry out a little.
By the way, if you start baking bread in a cold roaster, you will get dense bread and a hard shiny crust, which is also nothing good.
It happens that a glossy smooth crust without cuts is obtained, despite the fact that the cap was taken out on time and everything seemed to be done correctly. The problem here lies not in the excess of steam, but in the leaven, unable to raise the dough. Usually, such bread is coarse and hard, with a dense, poorly loosened crumb, it practically does not grow in the oven. It is necessary to correct this problem radically: depending on the initial data, change the feeding scheme, humidity and ripening temperature of the starter culture.
The bread blurred, the cut parted.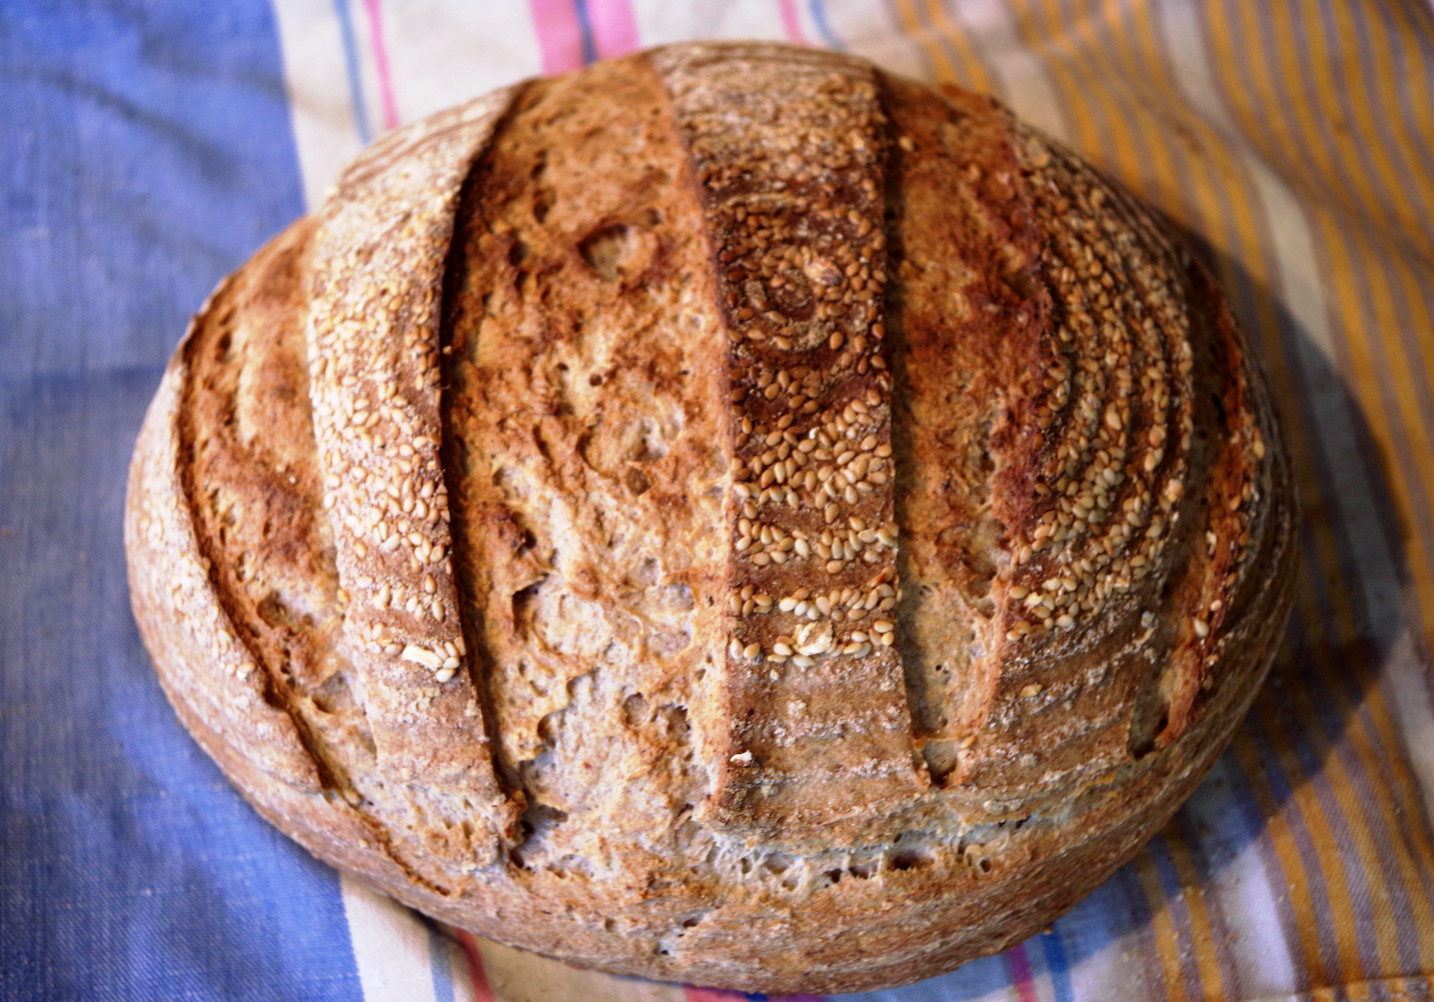
It would seem: the dough was kneaded until smooth, it rose during fermentation and proofing, while the bread floated in the oven. There can be several reasons: for example, excess moisture or incorrect kneading of wet dough. If there is a large amount of moisture in the dough, it is not necessary to add water during mixing immediately, but leaving 50-100 gr. to add gradually as you knead. In addition, it is known that American or Canadian flour takes much more water than ours, and the gluten in the flour there is stronger, so our bakers are advised to cut the amount of water in American and Canadian recipes by 10%. In addition, cuts are rarely made on bread made from wet dough, for example, all sorts of chabatts are never scored, and if you, without thinking, cut a piece of wet dough, it may well creep in the oven.
If the dough is not thin, but of medium consistency, then the reason for the flat bread may be poor molding or a poorly preheated oven. With a weak molding, the dough does not hold its shape well and easily spreads to the sides, and if the oven is also poorly heated, then flat bread is provided. Round or oval bread must be shaped so that the result is a dense piece with a well-stretched dough surface, but without breaks. By the way, if the gluten of the dough during kneading was well developed, the dough should not tear.During molding, in order to get a tightly formed blank, it is not at all necessary to crumple it and squeeze out all the bubbles, it is enough to twist the dough tightly and let it sit in special baskets.
The workpiece can also blur if the dough has stood still, I wrote about this above.
Cracks in the crust after cooling.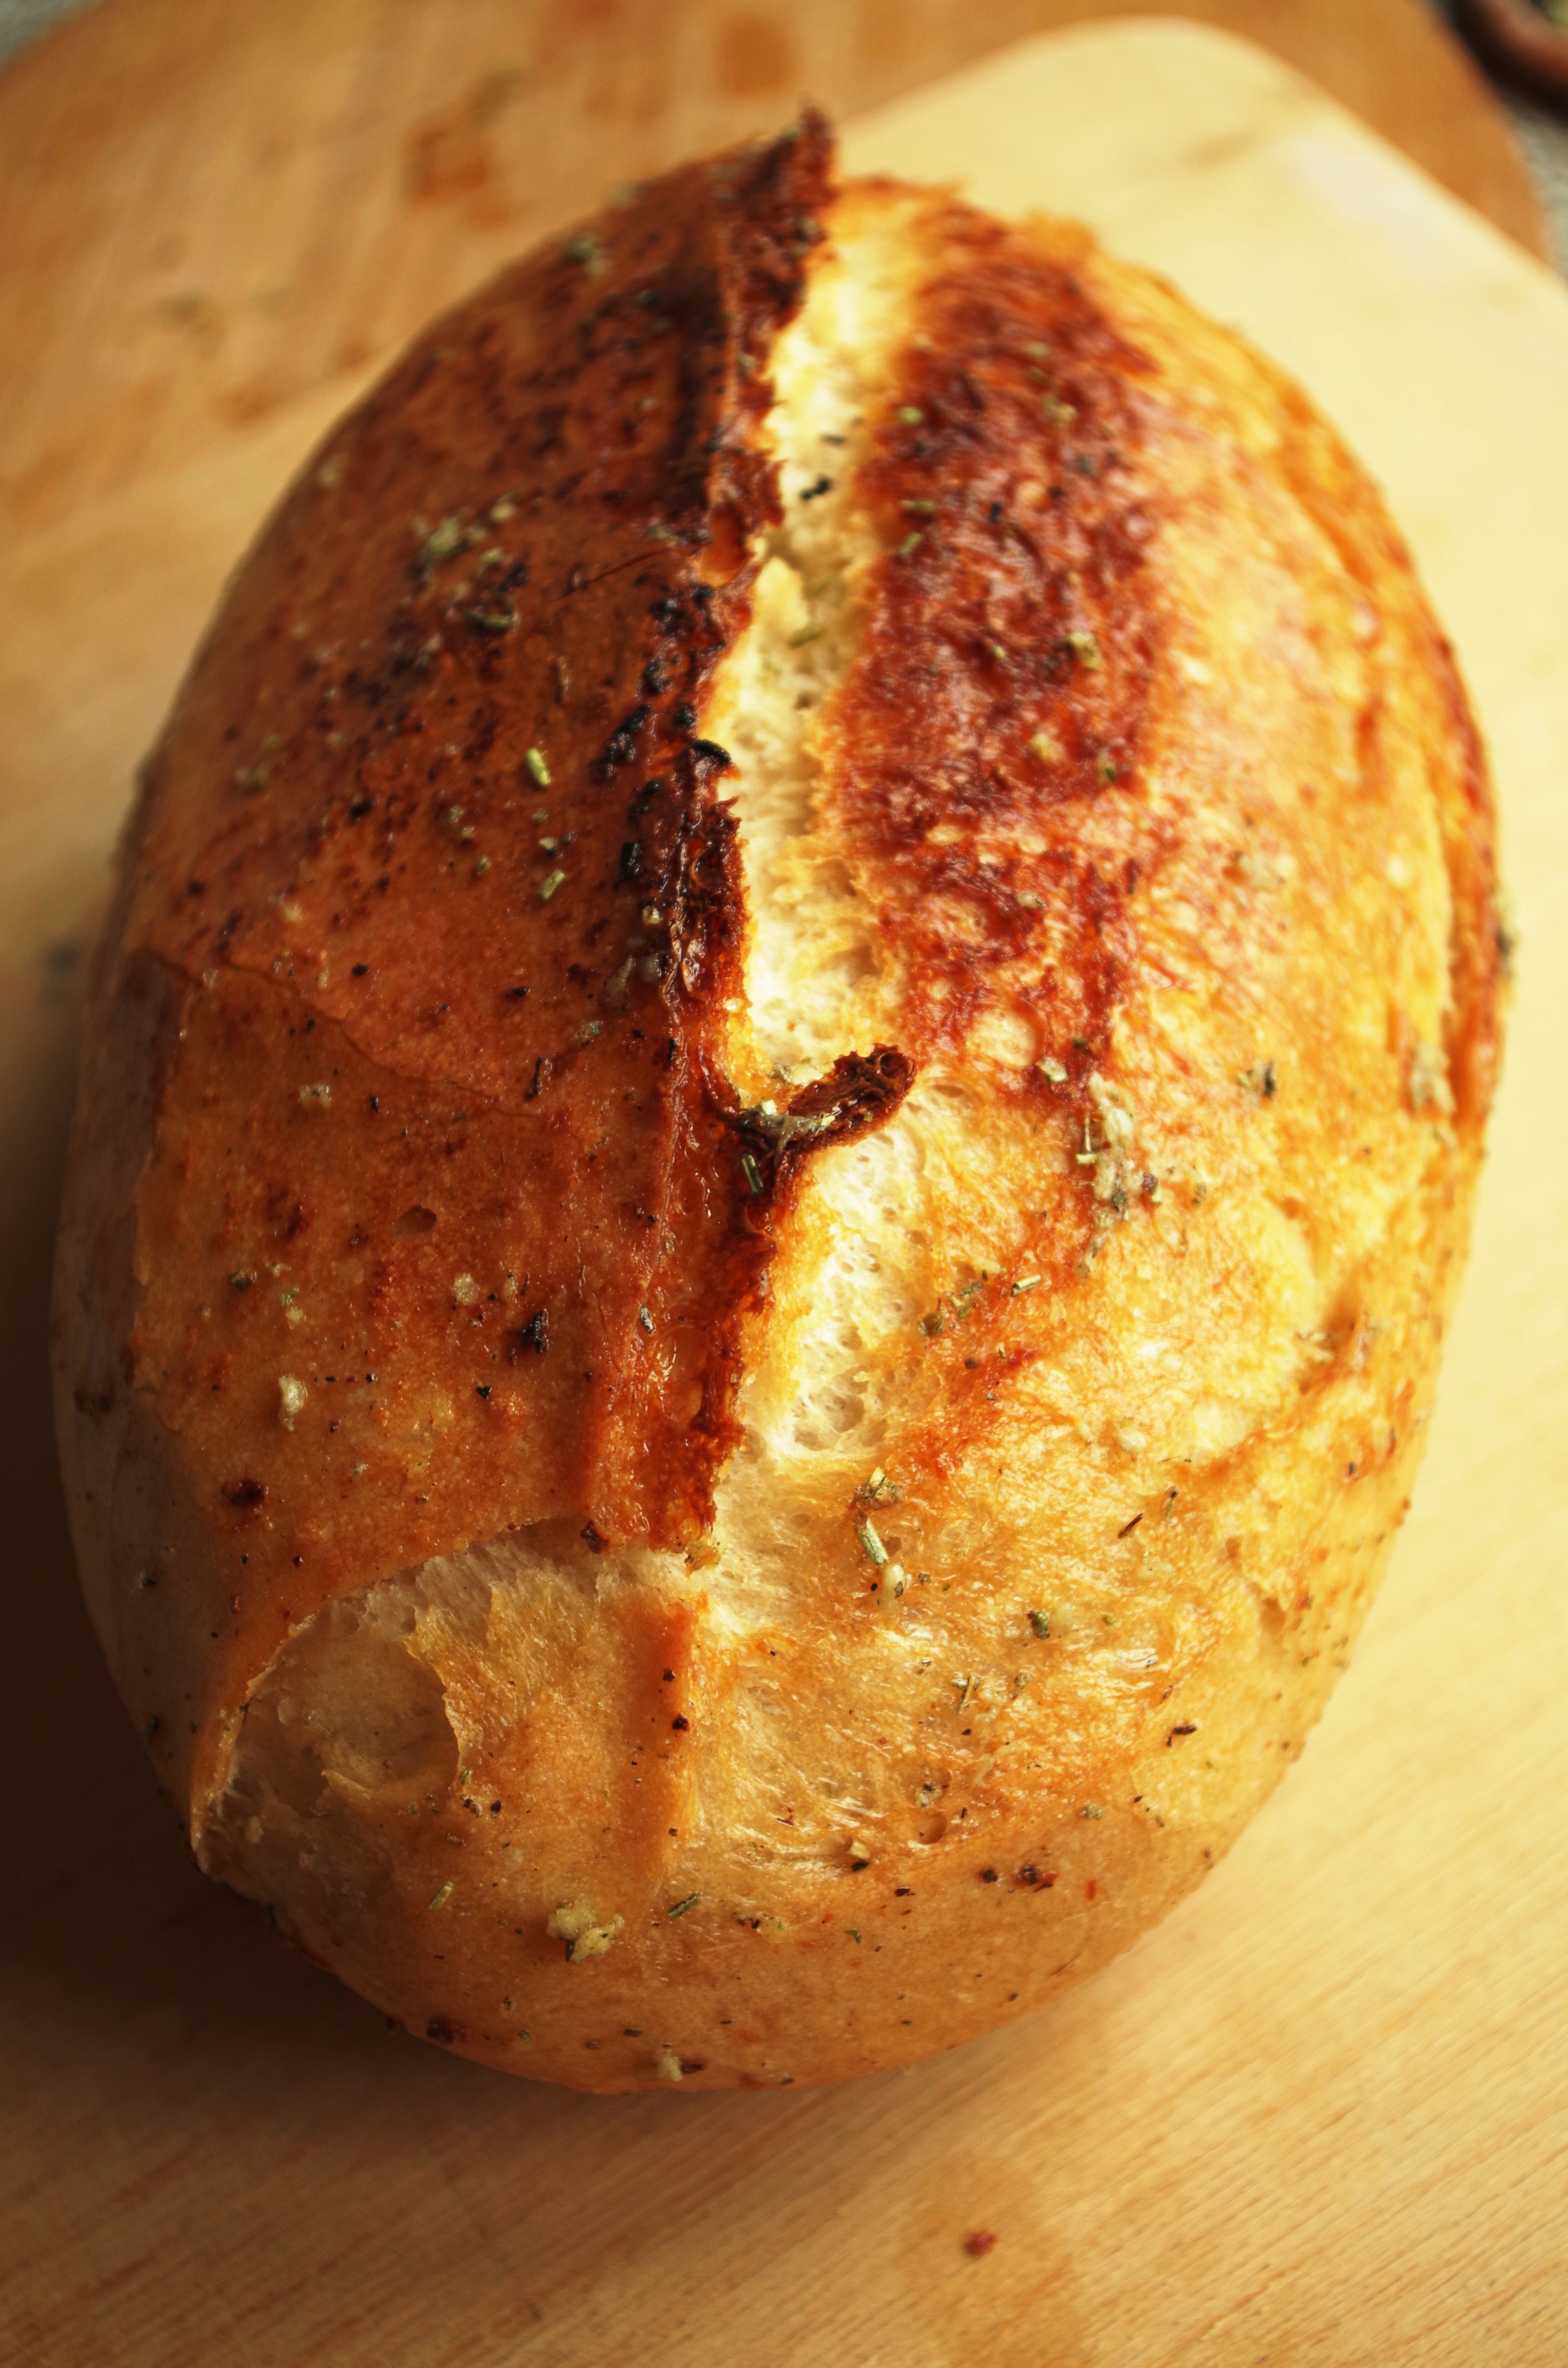
In general, I do not consider this a problem or a bug, but some people do not like it. This is even inevitable if you managed to bake a wonderful bread with a "singing" crust: when you take the bread out of the oven, you hear it crackle; when you cut it, the crust just explodes, it is ringing and prickly. But the cooled bread has cracks that look like peeling paint. This is due to temperature differences in the oven / kitchen or if the bread is immediately taken out of the oven and sprayed with water.
A source:
🔗 by Elena ZheleznyakP.S. Related topic: Defects in bakery products, their causes and remedies
https://Mcooker-enn.tomathouse.com/index.php@option=com_smf&topic=2209.0 


